# Khi có Lead mới từ FB Lead Ads Form
### I. Hướng dẫn tạo Lead Ads Form trên Facebook
Nếu bạn đã tạo Lead Ads Form sẵn thì hãy kiểm tra lại lần lượt các bước theo hướng dẫn ở đây để đảm bảo đã thiết lập chính xác.
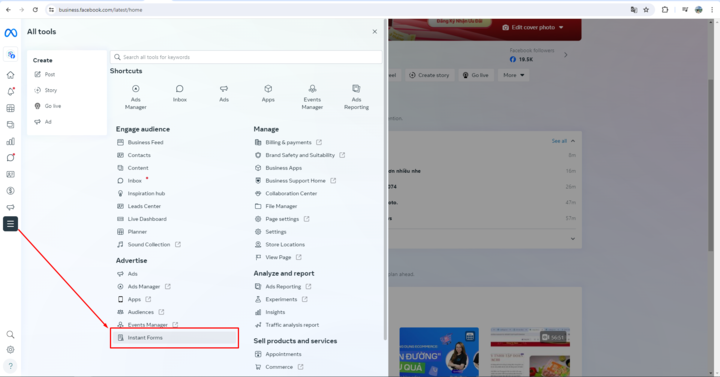
1. Truy cập vào đường dẫn
2. Chọn **All tools**, sau đó chọn **Instant Forms**
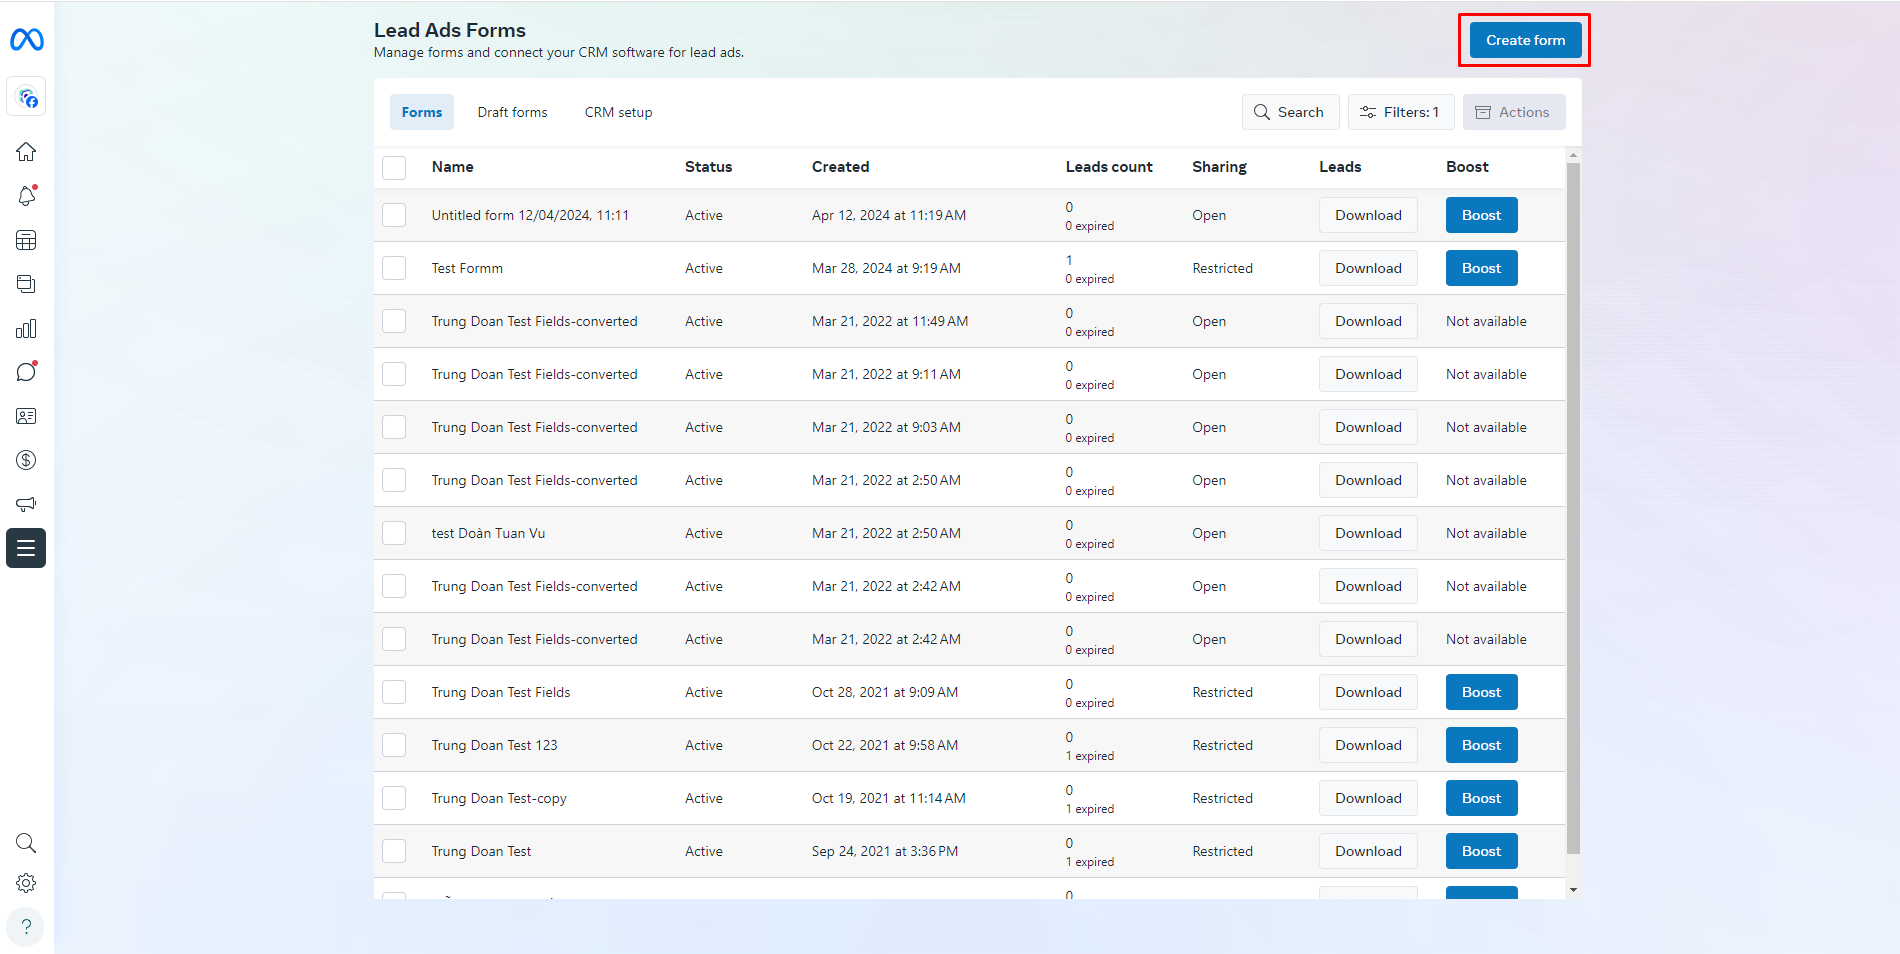
3. Chọn Create Form để tạo Form
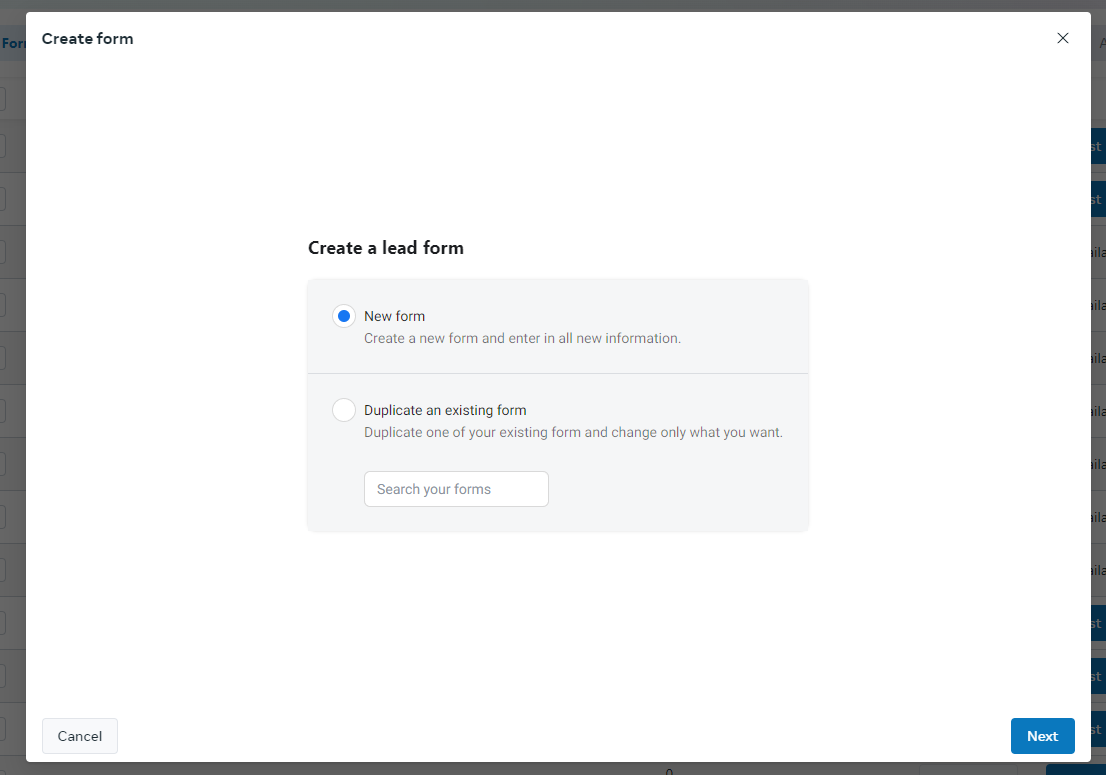
4. Chọn New Form nếu bạn muốn tạo Form mới. Nếu muốn chỉnh sửa Form đã có, chọn Duplicate existing form.
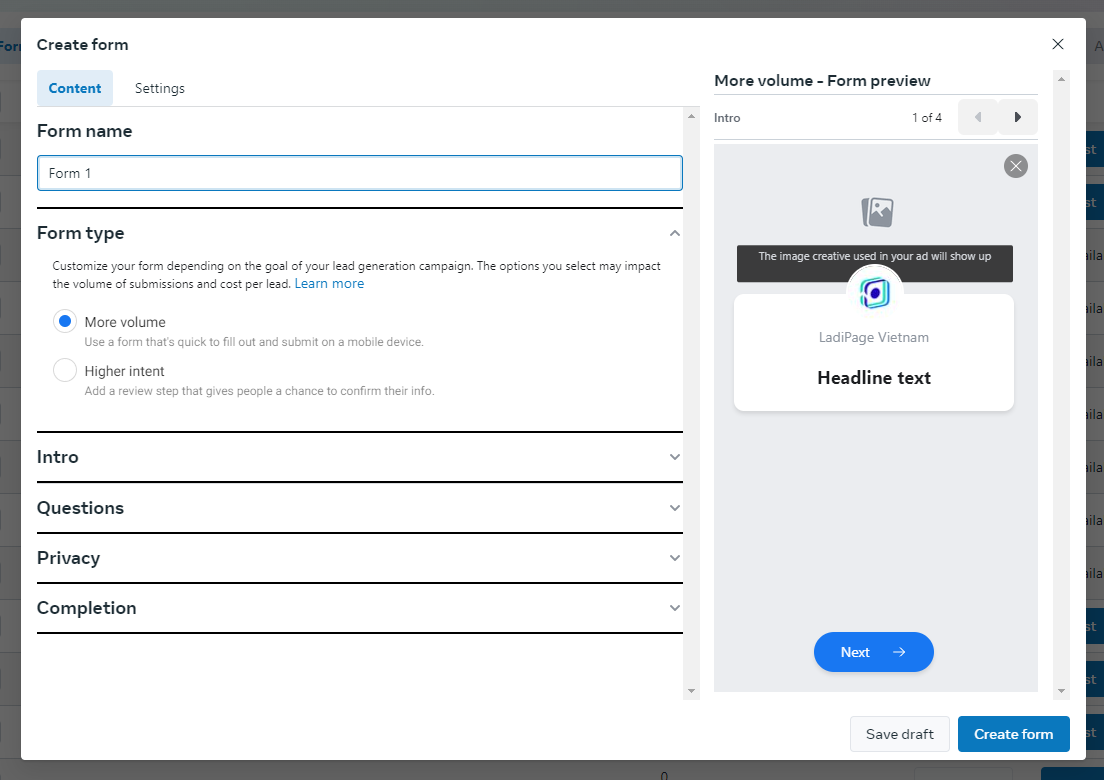
5. Lần lượt điền các thông tin tổng quan về Form
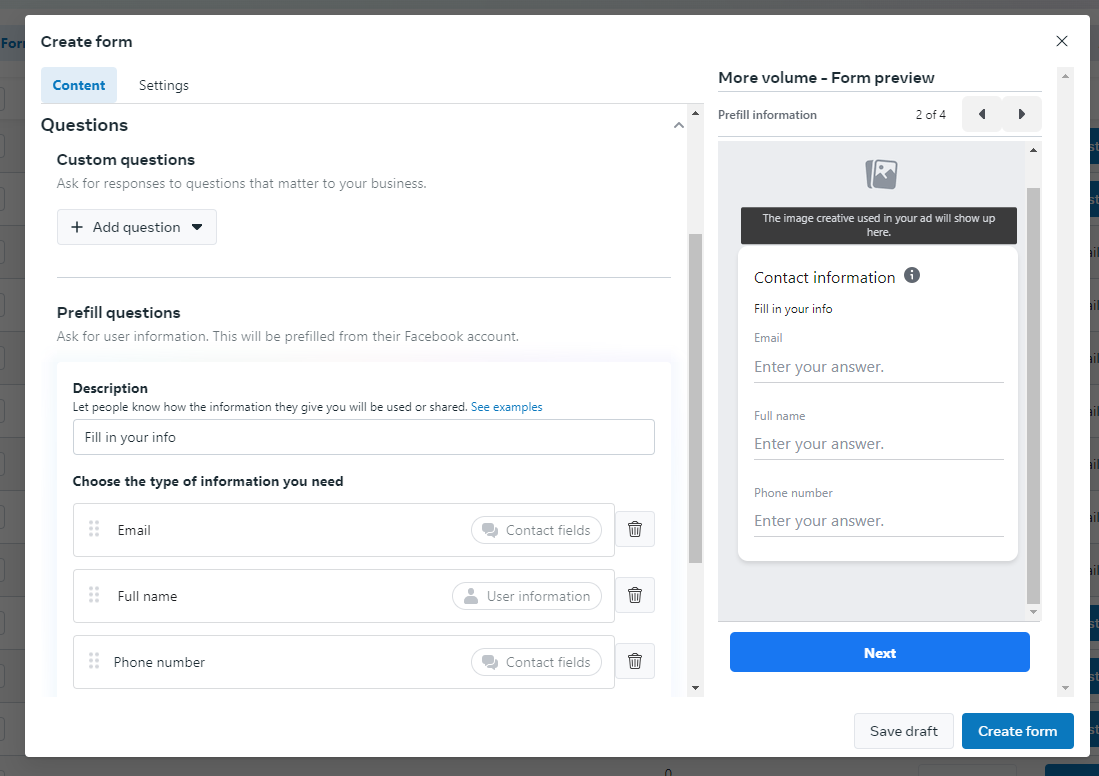
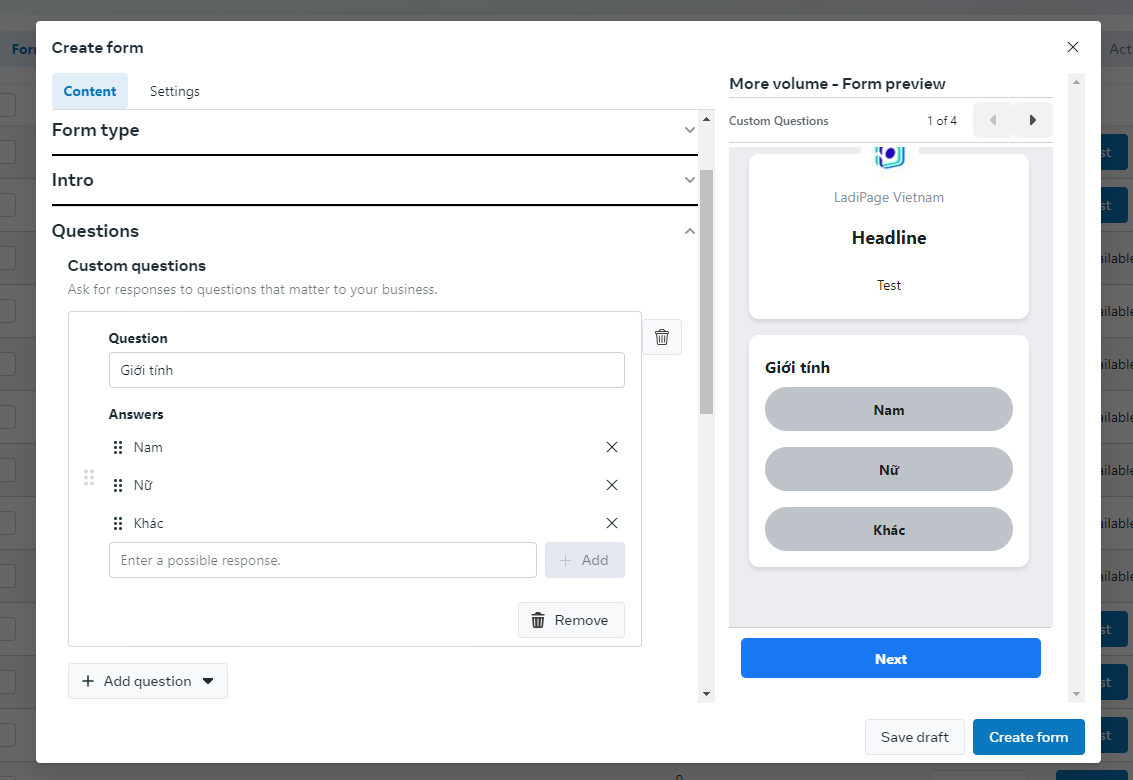
7. Chọn mục Questions để điền các câu hỏi trong Form. Có rất nhiều loại câu hỏi khác nhau trên Form: Câu hỏi chọn đáp án, câu hỏi điền đáp án... Tùy theo yêu cầu của bạn hãy thiết lập nội dung form thích hợp.
Câu hỏi điền đáp án
Câu hỏi chọn đáp án
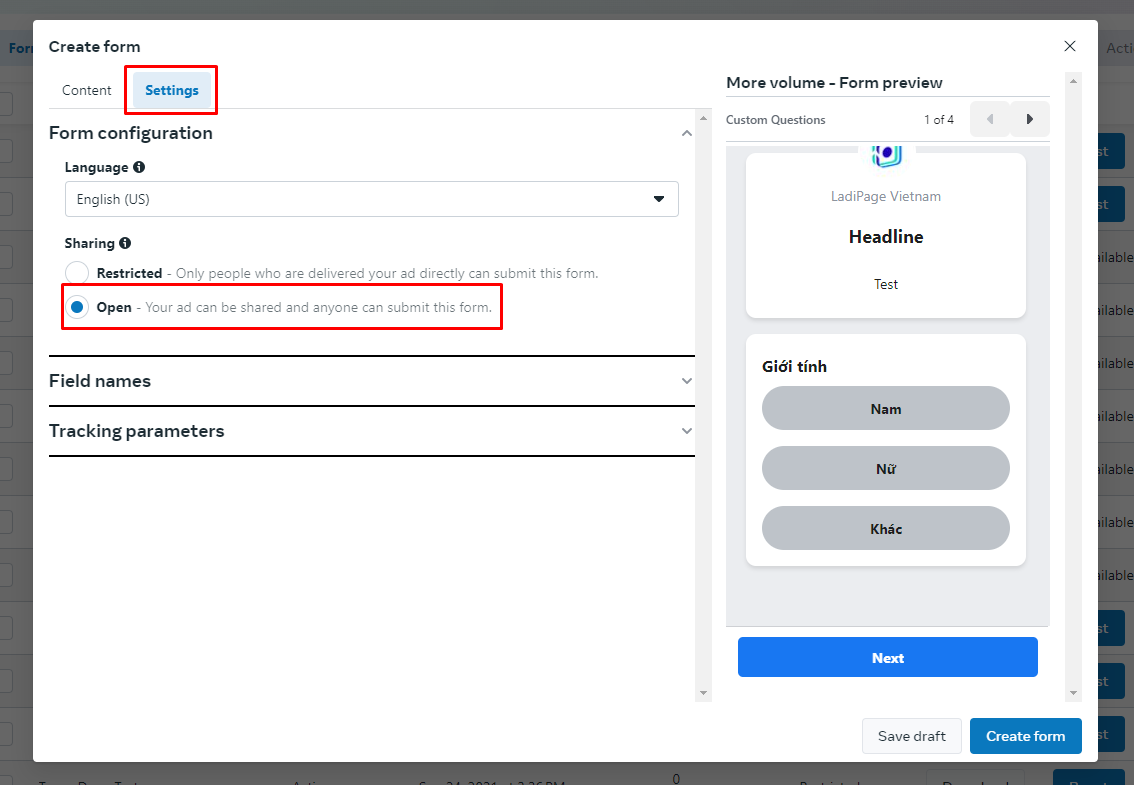
8. Sau khi đã thiết lập tất cả các câu hỏi cho Forms, chọn Settings sau đó chuyển trạng thái Sharing sang Open
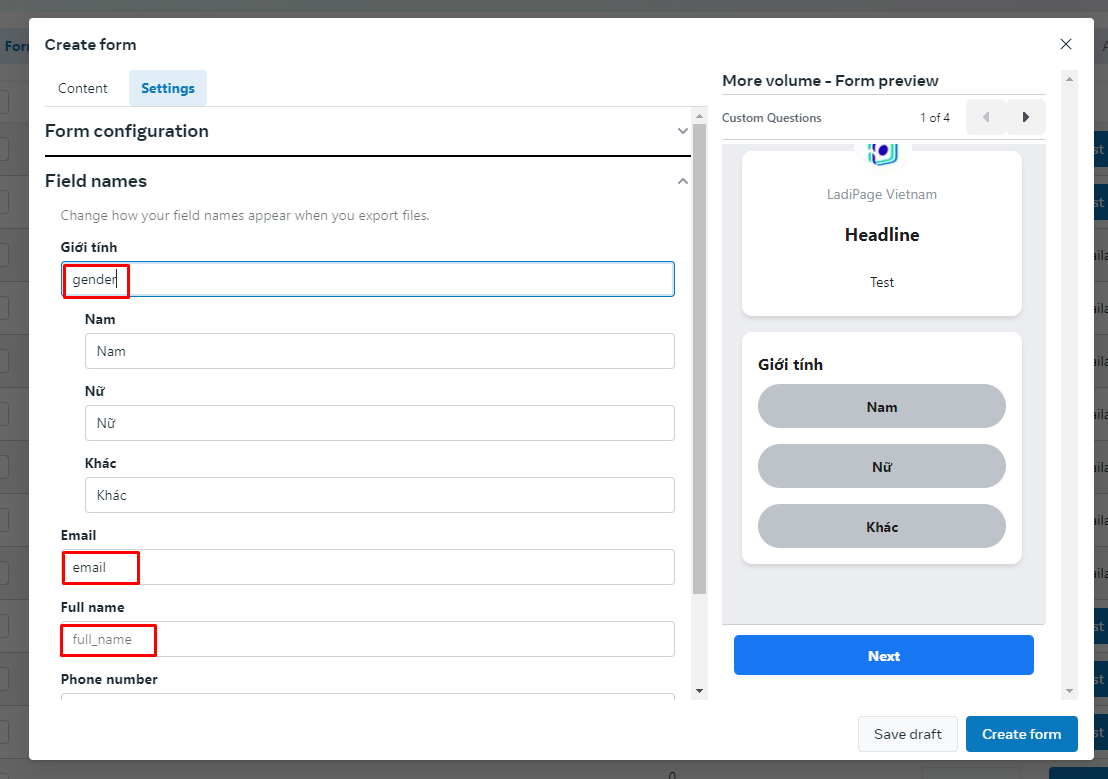
9. Chọn Field names để thiết lập dữ liệu. Để dữ liệu được lưu vào đúng trên LadiFlow, bạn hãy diền mã tên các trường tùy chỉnh tương ứng với từng câu hỏi.
Để biết các mã bạn có thể xem tại tính năng Cá nhân hóa
Mã code sẽ hiển thị tương ứng trong cặp {{}} khi bạn chọn trường dữ liệu tương ứng.
Nếu bạn muốn lưu thông tin vào 1 trường dữ liệu chưa tồn tại trên tài khoản, bạn có thể Tạo mới trường tùy chỉnh, xem thêm tại [Broken link](https://ladipage-vietnam.gitbook.io/v5-ladiflow/flows/flow/triggers/facebook/broken-reference "mention")
10. Sau khi đã thiết lập đầy đủ các mã tên trường dữ liệu trên LadiFlow và các thông tin khác, bạn chọn **Create Form** để tạo Form
{% hint style="info" %}
Form đã tạo thì không thể chỉnh sửa. Do đó bạn hãy nhân bản Form để chỉnh sửa lại hoặc tạo mới Form khác.
{% endhint %}
### II. Hướng dẫn thiết lập Trigger FB Lead Ads Form trên LadiFlow
Khi có ai đó gửi thông tin điền từ form trên Facebook lead ads, Trigger sẽ hoạt động.
{% hint style="info" %}
Hãy thiết lập Facebook Lead Ads trên Facebook trước khi thiết lập Trigger. Nếu bạn chưa tạo Facebook Lead Ads Form, xem hướng dẫn TẠI ĐÂY.
{% endhint %}
1. **Chọn + Thêm Trigger**, tìm và chọn trigger **Lead từ FB Lead Ads Form**.
{% hint style="info" %}
Bạn có thể sử dụng công cụ tìm kiếm để tìm Trigger nhanh hơn.
{% endhint %}
1. **Chọn tài khoản Facebook cấu hình**, đây là tài khoản Facebook có chứa Lead Ads.
1. C**họn mục Thiết lập trigger,** thêm điều kiện kích hoạt nếu muốn giới hạn tệp khách hàng trong flow. Xem thêm tại [them-dieu-kien-kich-hoat-trigger](https://ladipage-vietnam.gitbook.io/v5-ladiflow/flows/flow/triggers/them-dieu-kien-kich-hoat-trigger "mention").
2. **Chọn Lead Form** kích hoạt trigger từ danh sách lead form của bạn.
{% hint style="info" %}
Hãy tạo Lead form trên tài khoản Facebook của bạn trước khi thiết lập Trigger.
{% endhint %}
4. **Chọn Kiểm tra** để kiểm tra tài khoản Facebook của bạn vẫn đang hoạt động.
5. Bật **Kích hoạt Trigger**.
{% hint style="info" %}
**Lưu ý:**
* Hệ thống tự động cập nhật thông tin khách hàng theo các trường tùy chỉnh thiết lập trong Form.
* Với dữ liệu khách hàng nhập trên Form, hệ thống tự động cập nhật thông tin khách hàng trên LadiFlow.
* Với khách hàng đã có, hệ thống tự động cập nhật dữ liệu mới dựa trên dữ liệu trên Form khách hàng nhập.
* Chỉ khi trigger được bật, dữ liệu khách hàng nhập Form mới được ghi nhận trên LadiFlow
{% endhint %}
#### III. Kiểm tra Lead Ads Form đã tạo
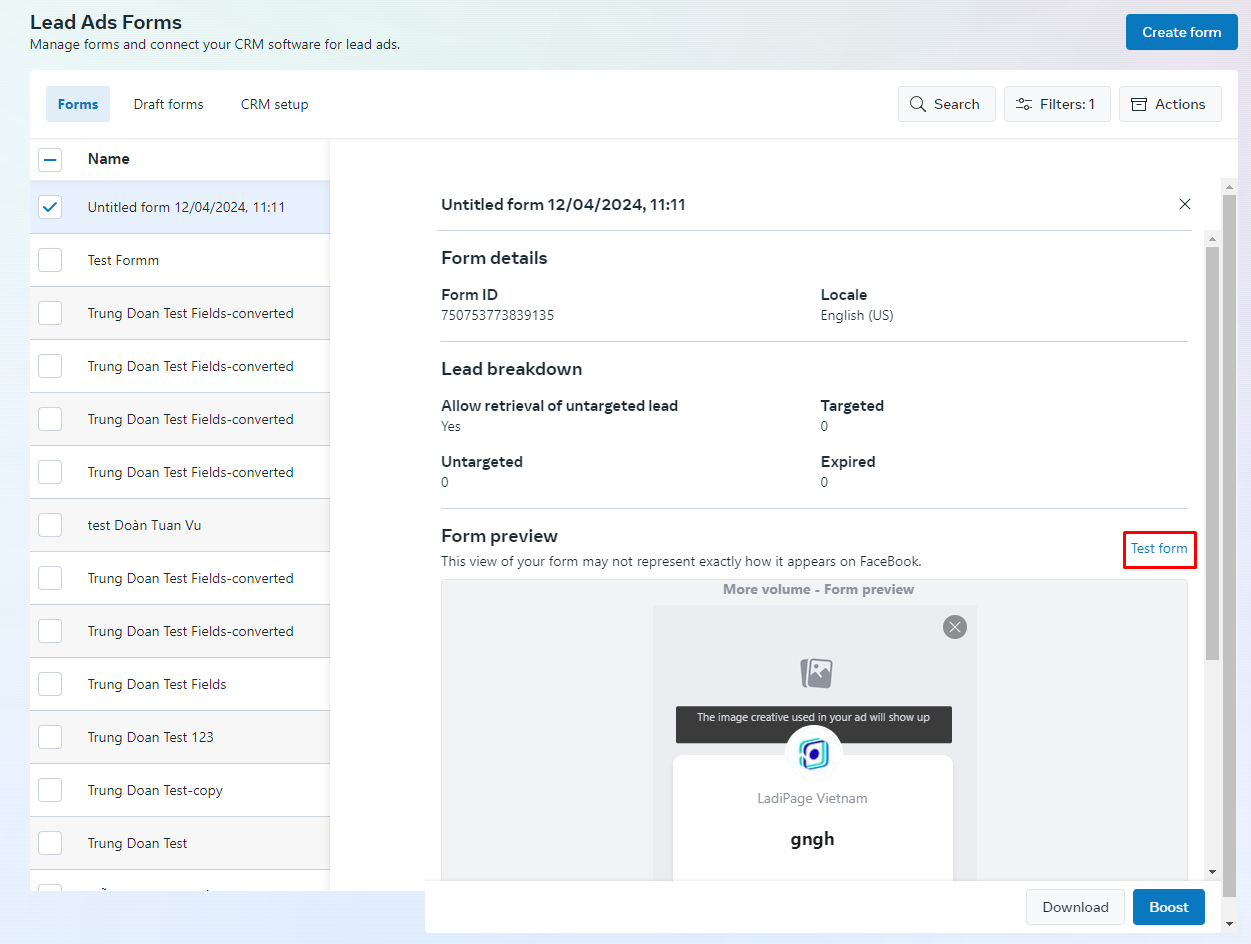
1. Truy cập vào màn hình Danh sách Forms trên
2. Chọn Form muốn kiểm tra và chọn Test Form
3. Khi bạn Submit Form test, dữ liệu sẽ tự động được gửi về LadiFlow. Bạn hãy kiểm tra trong danh sách khách hàng và thông tin khách hàng bạn vừa submit. Nếu dữ liệu của khách hàng thiếu dữ liệu trên Form, hãy kiểm tra lại các mã code dữ liệu đã gắn trên Form tại Bước 9 ở trên.
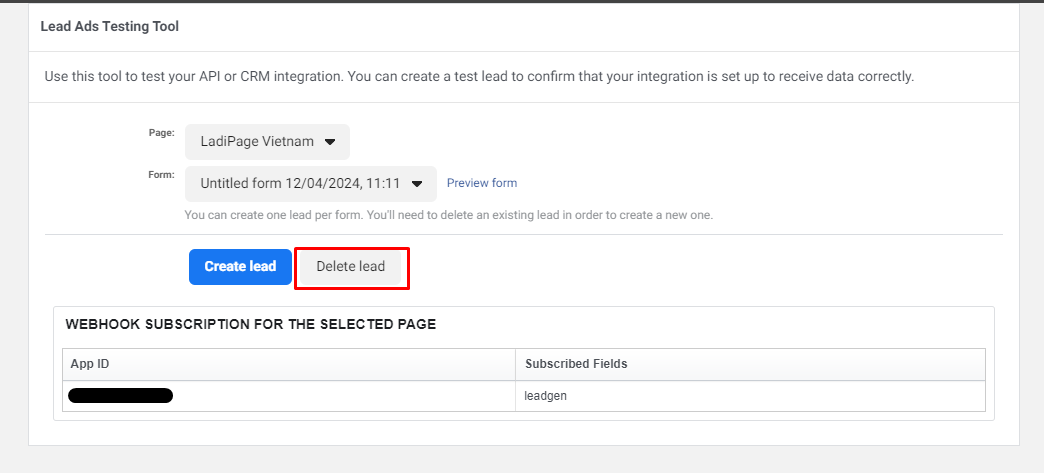
{% hint style="info" %}
Với mỗi tài khoản Facebook, khi bạn đã submit form test rồi và muốn thực hiện kiểm tra lại bạn cần thực hiện Xóa khách hàng tiềm nằng:
* Truy cập vào
* Chọn Page và Form
* Chọn Delete Lead
{% endhint %}
Sau khi kiểm tra các dữ liệu đã về LadiFlow đủ và chính xác, bạn có thể bắt đầu tạo quảng cáo FB lead ads form để thực hiện thu lead.
---
# Agent Instructions: Querying This Documentation
If you need additional information that is not directly available in this page, you can query the documentation dynamically by asking a question.
Perform an HTTP GET request on the current page URL with the `ask` query parameter:
```
GET https://ladipage-vietnam.gitbook.io/v5-ladiflow/flows/flow/triggers/facebook/khi-co-lead-moi-tu-fb-lead-ads-form.md?ask=
```
The question should be specific, self-contained, and written in natural language.
The response will contain a direct answer to the question and relevant excerpts and sources from the documentation.
Use this mechanism when the answer is not explicitly present in the current page, you need clarification or additional context, or you want to retrieve related documentation sections.